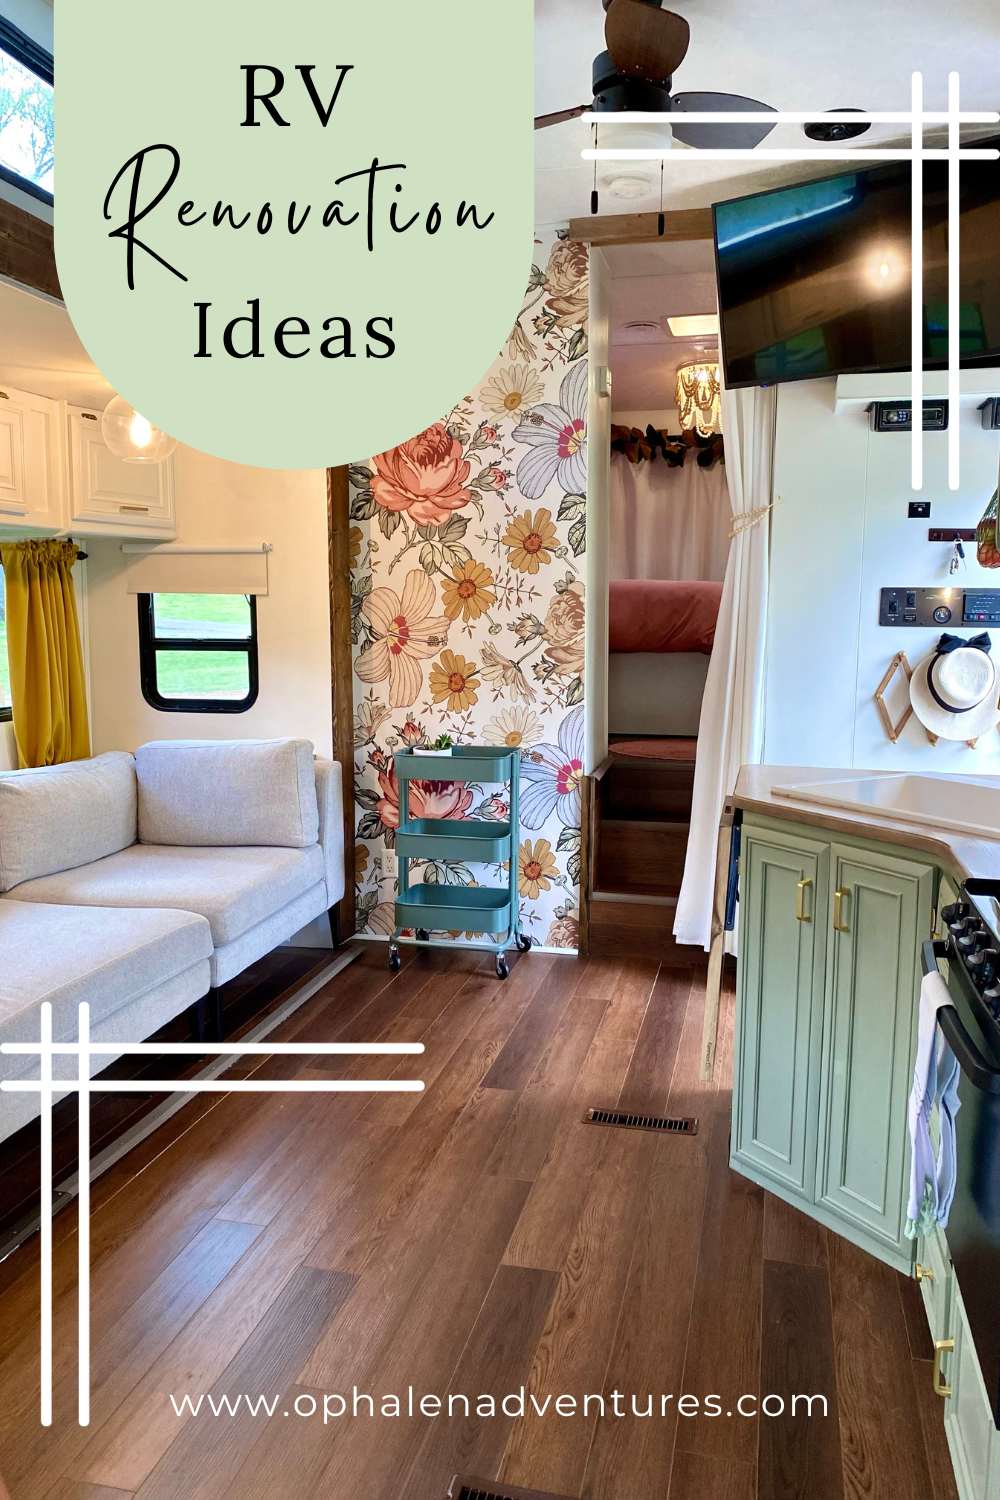
We spent four months turning our hideous 2007 toy hauler RV into a gorgeous tiny home on wheels, and I learned SO MUCH! Here are my best RV renovation ideas from everything I researched and learned on the job!
First, I want to share with you a little before picture to give you hope that no matter what your RV currently looks like, you can make it beautiful. Check out what I like to call grandma hunting cabin chic:

Isn’t she a beaut? Don’t panic, this is fixable. I knew this RV could be a beautiful home because the layout was good and the bones were solid.
Cost Breakdown
I always appreciate when folks are transparent with their costs, so I did a renovation cost breakdown for you! This includes absolutely everything, including tools we needed, closet organization from IKEA, and a brand new set of 6 tires.
Shower, Sink, Toilet: $1610
Mechanical: $1255
Decor: $1020
Flooring: $910
Washer/dryer: $500
Paint, Primer, and Stain: $430
Electrical: $355
Tools: $275
Wallpaper: $235
Hardware: $220
Fabric: $160
Miscellaneous: $600
TOTAL: $7570
I also logged hours worked, including the hours others spent helping me. I tracked 820 hours, not counting the hundreds of hours I spent googling things and watching YouTube videos 😂 I definitely think I could cut that by at least a third if I did another RV. It also includes unexpected water damage repair to the bedroom slide floor.
We spent more on this renovation than you might want to, and that’s because we wanted to buy an older RV so we could own it outright and we knew we’d be living in here so it would be worth making it feel like home. The money we spent was WAY worth it to us because even with the renovations, we spent about a third of what a new toy hauler would cost.
If your budget is lower, though, you can still make a MASSIVE difference with just a few DIY modifications. If I were limited to just three RV renovation ideas, I would choose painting the walls, installing vinyl click flooring, and replacing the window treatments with curtains and/or blinds.
List of RV renovation ideas:
- Paint the walls
- Paint the cabinets
- Install vinyl click flooring
- Replace the window treatments
- Consider a wallpaper accent wall
- Swap lighting fixtures for residential ones
- Glue lace or fringe to existing LED lighting fixtures
- Switch room divider or closet curtains
- Change drawer and cabinet hardware
- Replace dinette and couch
- Recover benches
- Paint and epoxy countertops
- Add a peel-and-stick backsplash
- Add hanging kitchen storage
- Create a flip-up counter with a cutting board
- Paint or replace shower
- Update ceiling fans
- Replace slide trim
- Replace door trim
- Buy new appliances or bathroom fixtures
- Add shoe storage under the stairs
- Add faux wainscotting to walls
- DIY a new fabric headboard
- Add custom storage organization
- Hang wall decor
- Replace stock door locks with keypads
- Consider adding a washer and dryer
- Update safety features like smoke detectors and tires
- Paint the exterior
O’Phalen RV Mood Boards:
One of my best pieces of advice for anyone considering more than minor RV renovations is to create a mood board before purchasing a single thing!
Here are the ones I created for the different spaces in our RV to give some inspiration:


Keep in mind that an RV is a small space and you will likely see your various rooms from anywhere in the RV, so make sure they coordinate well and don’t clash! I pulled every color used in the whole RV from the livingroom wallpaper so they all would match.
{click for the wallpaper we used! KATEOPHALEN for 15% off}
If creating your own RV renovation mood board feels overwhelming — good news! You can hire me to create one for you. Click here!
O’Phalen RV Renovation Ideas Results
Here are a few pictures of how our RV turned out! If you want to see more of the RV, click through to my Instagram reel or take a look at my RV Reno highlights that detail the complete process. Links to the products we used below these pics.


O’Phalen RV Room-by-Room RV Renovation Ideas and Links:
For more details on each and everything we did in every room during our RV renovation, click through to the room-by-room details. If you’re interested in the products we used, the links will be in these posts:
- Kitchen & Living Room
- Bedroom
- Kid Playroom & Beds
- Bathroom
- RV Exterior Paint
- RV Awning Replacement
- Full Time Living Upgrades
Disclaimer: Product links in this blog post may be Affiliate links, and I will earn a small commission for each purchase made through these links at no extra cost to you. Affiliate income helps fund our family travel and allows me to keep creating inspiring family travel content for you. I so appreciate when you use my links to make purchases you would have made anyway.
For more RV life posts, check these out:


