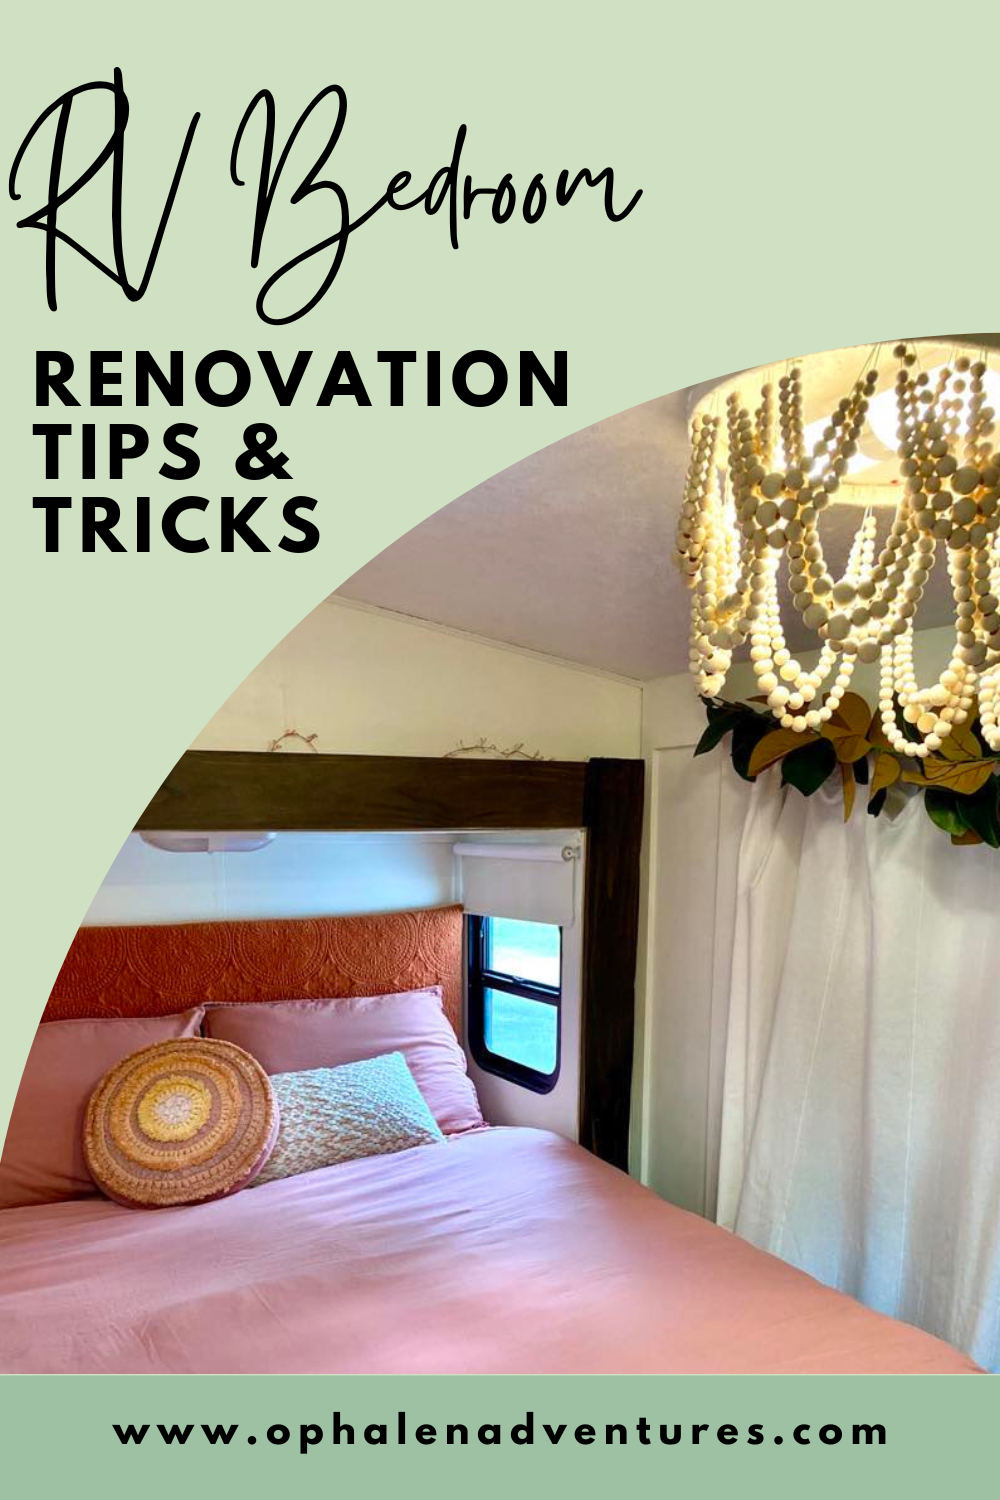
I’m thrilled to share the details of our RV bedroom renovation with you today! If you missed the complete renovation post, you can head here to see the other rooms and a horrible before photo.
I’ll list absolutely everything we used, and I’ll break it down by section. But first, let’s start with the mood board, shall we? I always recommend creating a mood board for any renovation project. It helps keep you focused and makes the whole thing so cohesive. If creating one feels overwhelming, I’d LOVE to help you. Click here to book.
Here’s what I created for our bedroom:

I was really going for desert sunset (which is also what the exterior paint job ended up channeling, too!). The goal was warm and relaxing, which I think it totally achieved.
Our shower stall is in the bedroom, so I’ll include details about the shower in this post. The toilet closet / bathroom details I’ll share in another post.
RV Bedroom Renovation: Colors
Paint colors: Walls and doors are Behr Swiss Coffee
Primer and paint details: Everything was primed with Kilz adhesion primer and painted with Behr semi-gloss interior paint
Flooring: Lowe’s Smartcore Interlocking Vinyl Plank that clicks together with no glue or subfloor prep
RV Bedroom Renovation: Details


Orange Fabric for Headboard: Velvet rust-colored fabric from Joann plus cotton batting stapled to a giant cardboard box side
Bedding: Dusty Rose duvet cover from Walmart
Throw Pillows: World Market, similar here and here
Slide Trim: 1″ x 6″ Wood Board Sanded and Stained
Copper String Lights: LED battery operated fairy lights
Greenery Over Closet: Two magnolia leaf garlands from Michaels
Pink Area Rug: World Market Redondo Mat
12v Light Over Bed: Low profile puck light
Dresser: Thrifted and re-stained
Dresser Hardware: Brushed gold cup pulls
Sign: Aldi Aisle of Shame find, similar here
Green Lamp: Kate Spade emerald green table lamp we already owned
Chandelier: Normal RV light fixture; surrounded by embroidery hoop draped in these beads, these beads, and twine
Bedside Hanging “Nightstand”: Hanging wall organizer
Curtain Track: Bendable ceiling track with these hooks in place of closet door
Mirror: Gold oval mirror
Shower Tiles: Palisade vinyl wall tiles in Rain Cloud
Shower Doors: Corner glass shower and base
Shower Fixture: Rain shower system in Oil Rubbed Bronze
Greenery Hanging Off Shower: Hobby Lobby, similar here
Laundry Hamper: Woven laundry hamper lives in the shower
Exterior Bathroom Door Sun: 6″ embroidery hoop and square wooden dowels spray painted gold
Blackout curtain: Terra cotta curtains
Cream Blackout Shades: Levolor Cut-to-Fit Blackout Shades
White Bedroom “Door” Curtain: IKEA Merete curtains
Curtain Tie Back: Made from twine and beads leftover from chandelier project
Floor Vents: Metal Floor Register spray painted brown to match flooring
Washer & Dryer: Black & Decker apartment washer and Panda portable dryer
RV Bedroom Renovation: Summary
I love how all of the colors and textures came together to create a relaxing sanctuary feel for our bedroom. This room didn’t get nearly as many “wow worthy” splurges as the kitchen and living room did (like the wallpaper!). That meant that the magic was in the details here. Small projects like creating a custom lightweight headboard out of a cardboard box, DIYing a bead chandelier, and fashioning a gold sun on the bathroom door had a massive impact.
The stunning shower in the corner was the one big transformation in this room. And if I had it to do over again, I would hire a plumber to connect all of the plumbing. I finally figured it out after three weeks, but learning how to move the drain in an RV was an adventure! If you’re cutting vinyl tiles like the ones I used in the shower, you need this Ryobi multi-tool saw. I used it every day during this renovation.
We also unexpectedly had to replace the bedroom slide floor because of water damage. That was a three day very un-fun project, but more doable than the internet makes it sound. I’m so glad we did it! If you find unexpected water damage when you start demoing your RV, don’t panic. Most of it is fixable.
Head back to the RV Renovation Post to see the rest of the rooms!
Disclaimer: Product links in this blog post may be Affiliate links, and I will earn a small commission for each purchase made through these links at no extra cost to you. Affiliate income helps fund our family travel and allows me to keep creating inspiring family travel content for you. I so appreciate when you use my links to make purchases you would have made anyway.
For more of our RV renovation, head to the main post or check out any of these:


Comments
One response to “RV Bedroom Renovation: Spotlight on This Beautiful Transformation!”
[…] Bedroom […]