
One of the things that I feel like often gets forgotten in RV renovation is how the exterior looks. You’ve already seen our exterior paint job, but the other thing we did that made a huge impact was an RV awning replacement. Our old awning was not only hideous, but it was actually crumbling. I started to get worried that one day it was just going to crumble off the RV, so I knew that it was a priority to get it replaced.
I haven’t seen a lot of folks blogging about which awning they chose or how they accomplished the task, so I figured I’d share with you all today. If you want to see our complete RV renovation, head here. We also have an Amazon list of all of the RV renovation products we used, if you’re looking for other ideas. Because we live in our RV (and have for over two years as a fulltime RV family!), we took our renovation project seriously. It paid off, turning our 2007 toyhauler into a comfortable home for our family of five.
So let’s talk about the RV awning replacement!
RV Awning Replacement: The Awning
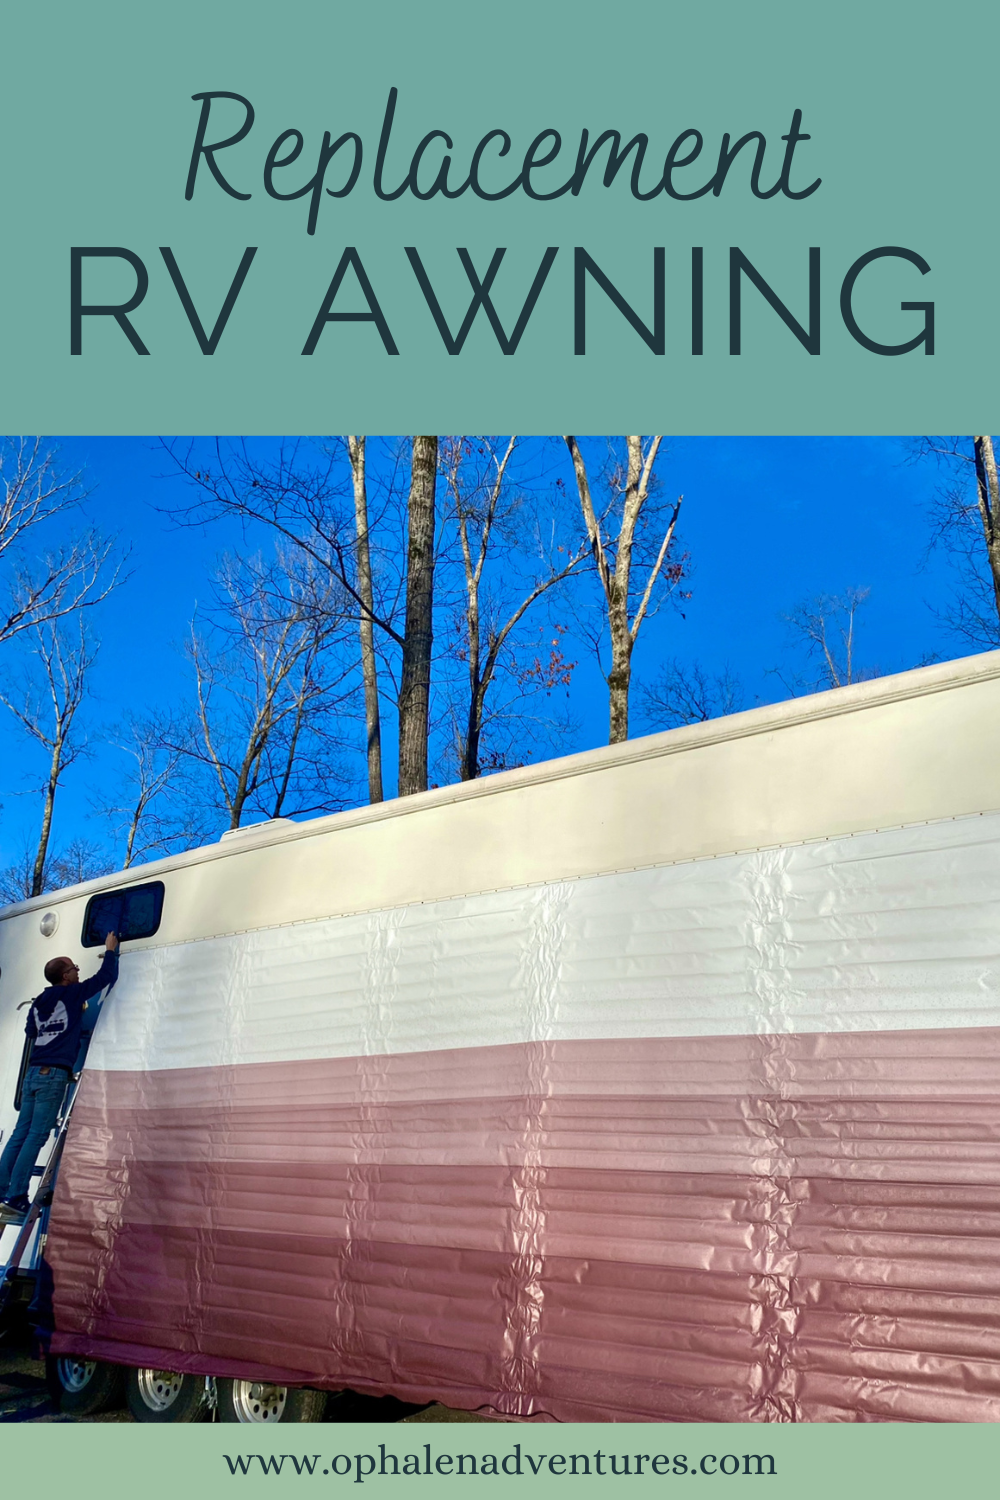
Okay, so the awning that we chose was a ShadePro Vinyl Awning in Burgundy that measured 20 feet.

I felt like it was affordable at around $200, and it really feels high quality when you get it. The hardest part of ordering was measuring for which size we’d need, but even that was pretty simple. ShadePro recommends that you measure from the center of one awning pole to another. My only complaint is that I wish they’d offer more colors! Burgundy is a pretty purple-ish color that I like, but it doesn’t necessarily coordinate with our paint job.
That said, our slide toppers need replacing soon, and I’ll absolutely be ordering ShadePro slide toppers for that project!
RV Awning Replacement: How to DIY
Considering how intimidating an RV awning replacement felt, it wasn’t a super tricky DIY project. The only part that was really challenging was keeping the spring tension in the awning housing stable while we replaced the fabric. The tool we jammed in to keep it from turning fell out, and then we had to guess how many turns it needed when reassembling. Not ideal, but it worked out fine.
We used this YouTube tutorial to guide us, and it was super helpful:
You’ll definitely want at least two, preferably three people for this project. It requires some extra hands. But it only took a couple of hours from start to finish!
If you’re not the DIY type, most any RV tech should be able to do this in a couple of hours.
RV Awning Replacement: How It’s Holding Up
With any RV renovation project, I always worry about how it’ll hold up and whether the materials will be worth the investment. We did this RV awning replacement almost two years ago, and the new awning is holding up absolutely beautifully. It looks as good as the day we installed it, and I think this was SUCH a big improvement for just $200 and a couple of hours of labor. I would definitely recommend ShadePro awning products.
Check out this before vs. after and let me know if you agree that it was worth the investment!


I hope this post has been helpful to you as you think about your RV awning replacement! Feel free to come find me on Instagram if you have other questions, and don’t forget to check out our complete RV renovation posts.
Disclaimer: Product links in this blog post may be Affiliate links, and I will earn a small commission for each purchase made through these links at no extra cost to you. Affiliate income helps fund our family travel and allows me to keep creating inspiring family travel content for you. I so appreciate when you use my links to make purchases you would have made anyway.
For more about how we renovated our 2007 toyhauler into a beautiful home, check out these posts:


Follow our adventures on Instagram:


Comments
2 responses to “RV Awning Replacement: Cheap & Simple Upgrade!”
[…] RV Awning Replacement […]
[…] RV Awning Replacement […]