It’s the tiniest room in our whole tiny house, but the renovation breakdown wouldn’t be complete without talking about our RV bathroom renovation!
I’ll list everything we used, and I’ll break it down by section. But first, let’s start with the mood board, shall we? I always recommend creating a mood board for any renovation project. It helps keep you focused and makes the whole thing so cohesive. If creating one feels overwhelming, I’d LOVE to help you. Click here to book.
The mood board for the bathroom is the exact same mood board as the one for the bedroom. That’s because the bathroom really does feel like a part of the bedroom, especially with the shower actually being outside the door and IN the bedroom.

One thing I think is especially important to consider in RV renovations is how all of the rooms will look together. Because the space is so small, it’s likely that you’ll see multiple rooms from the same spot.
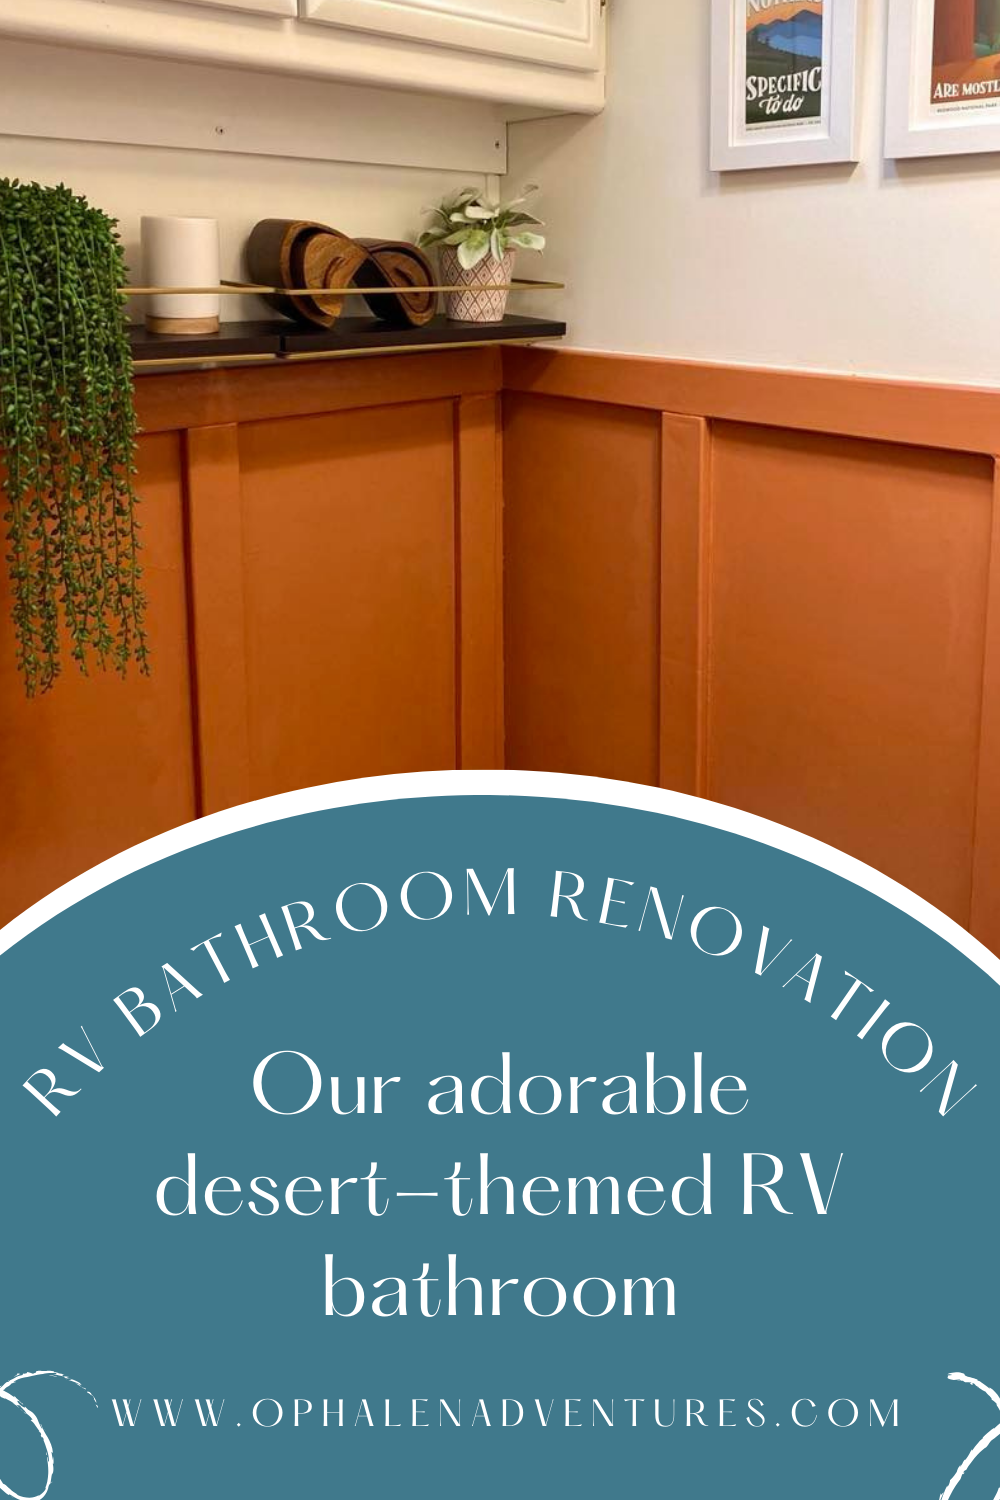
The star of the show in this RV bathroom renovation was the addition of orange faux board and batten, which was a particular challenge with flimsy RV walls. But I really love how it turned out, even though I’m no carpenter and it’s definitely imperfect.
RV Bathroom Renovation: Colors
Paint colors: Upper walls are Behr Swiss Coffee, lower walls are Behr Glazed Pot
Primer and paint details: Everything was primed with Kilz adhesion primer and painted with Behr semi-gloss interior paint
Flooring: Lowe’s Smartcore Interlocking Vinyl Plank that clicks together with no glue or subfloor prep
RV Bathroom Renovation: Details

Faux Board & Batten: I used 1″ x 2″ wood to create the faux board and batten, securing them to the walls with adhesive and screws
RV Toilet Replacement: Dometic 310
Behind the Toilet Shelves: Shario floating shelves
Shelf Decor: Purchased from TJ Maxx, similar here and here
Overhead RV Light: LED dome light with boho fringe trim glued around it
National Parks Wall Prints: Subpar Parks postcard prints framed
Cabinet Door Pulls: Vintage emerald green door pulls we already owned
Exterior Bathroom Door Sun: 6″ embroidery hoop and square wooden dowels spray painted gold as pictured below

In our RV, the shower is outside of the toilet closet, so I included shower details in the bedroom post.
RV Bathroom Renovation: Summary
The board and batten was by far the hardest part of our RV bathroom renovation. I used 1″ thick boards, and if I ever did it again, I would definitely use more lightweight material. Getting those pieces to adhere firmly to a flimsy RV wall was no fun, but it was worth it!
The other major project was replacing the toilet, which was necessary in our rig because of its age. But I’d highly recommend it for any renovation because these toilets just don’t last and having a new one has been nice for peace of mind. Replacing the toilet was a blessedly easy project.
The Subpar Parks prints crack me up and are a true delight. I also really enjoy the details found in the fringe on the overhead light and the sun on the exterior door. Plus, the bold orange is so fun in that tiny room. I was worried it would be too much, but I think it’s just right in a room that doesn’t have much else going on.
Disclaimer: Product links in this blog post may be Affiliate links, and I will earn a small commission for each purchase made through these links at no extra cost to you. Affiliate income helps fund our family travel and allows me to keep creating inspiring family travel content for you. I so appreciate when you use my links to make purchases you would have made anyway.
For more about how we renovated our 2007 Keystone Raptor into an adorable tiny home, visit our main renovation page or check out these posts:


Comments
One response to “RV Bathroom Renovation: Insider Peek at This Orange Room”
[…] Bathroom […]